
 English (United Kingdom)
  Italiano (Italia)
Indice
- CATIS High Cistern Flush Button Stuck or Not Flushing: Fix It Yourself
- Materials and Equipment You'll Need
- Difficulty Level, Build Time and Cost
- How Does the Toilet Flush System Work?
- How to Remove the Toilet Flush Button
- If the Retaining Ring is Stuck
- What’s Inside the Toilet Flush Button Mechanism?
- The Flush Button Mechanism
- STEP 1 - Cleaning the Components
- STEP 2 - Lubricating the Components
- Applying the Grease
- Conclusions and Acknowledgements
CATIS High Cistern Flush Button Stuck or Not Flushing: Fix It Yourself
Is the flush button on your CATIS high cistern stiff to press, staying stuck down after flushing, or — worst of all — doing absolutely nothing when you push it? Don't worry, you won't need to call a plumber: these are among the most common faults on this type of external cistern, and in most cases you can sort it out in under half an hour with tools you've already got at home.
In this guide I'll walk you through how to take the mechanism apart, find the problem and get everything working again — with photos at every step and no unnecessary jargon. Whether you've done a bit of DIY before or this is your first time picking up a spanner, just follow the instructions and you'll have your CATIS cistern flushing perfectly again in no time.
Materials and Equipment You'll Need
You won't need any special skills or expensive tools for this repair. Here's everything you'll need:
Materials:
- Methylated spirits (or alternatively a mild degreasing detergent — no limescale remover), for cleaning the mechanism components
- Silicone grease for plumbing use, to lubricate the mechanism after cleaning — universal lithium or PTFE grease works just as well
- Rags or kitchen roll, for wiping the components clean of dirt and grease residue
- Disposable rubber gloves, to keep your hands clean
Equipment:
- Rubber strap wrench — in most cases the retaining ring can simply be unscrewed by hand, but if it's seized and won't budge, this tool is the answer. It's easy to find in hardware shops or online for just a few pounds.
Difficulty Level, Build Time and Cost
| Difficulty | Easy |
| Estimated time | under 30 minutes |
| Materials cost | £5 – 15 |
This repair is well within anyone's reach, even if you've never done a plumbing job in your life. You won't be touching any pipes, turning off the water supply, or dismantling anything complicated: you unscrew a ring, clean the parts, grease them up and put it all back together. Job done.
The main cost is the lubricating grease, which you'll need to buy if you don't already have some in the house. Silicone grease for plumbing use is easy to find in any hardware shop for around £5–10, and it'll last you for dozens of repairs to come. The rubber strap wrench is only needed if the retaining ring is seized, but it's a handy all-round tool that's well worth having in your toolkit.
How Does the Toilet Flush System Work?
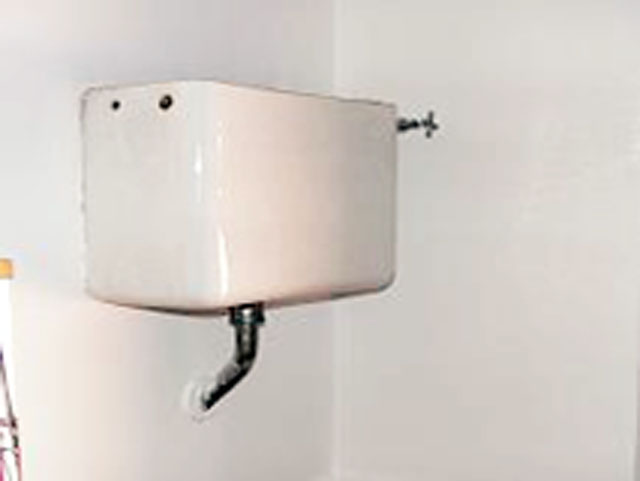
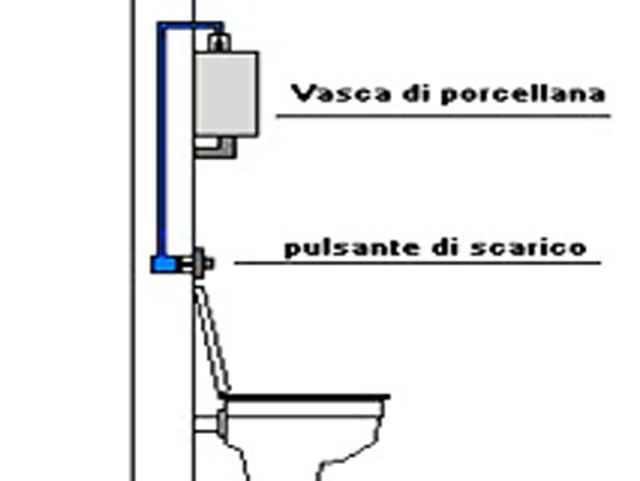
The mechanism is quite simple. The wall-mounted flush button acts as a pump, compressing air inside a tube that leads to the cistern. Once the air reaches the cistern, it pushes a piston, which then activates the flushing mechanism.
For a more detailed explanation of how this system works, I recommend reading the following article:
How an External Cistern Toilet Flush System Works (by Capitan Farloc)
How to Remove the Toilet Flush Button
The most common issue involves the flush button itself, which may get stuck (as shown in the photo) or fail to activate the flushing system when pressed.
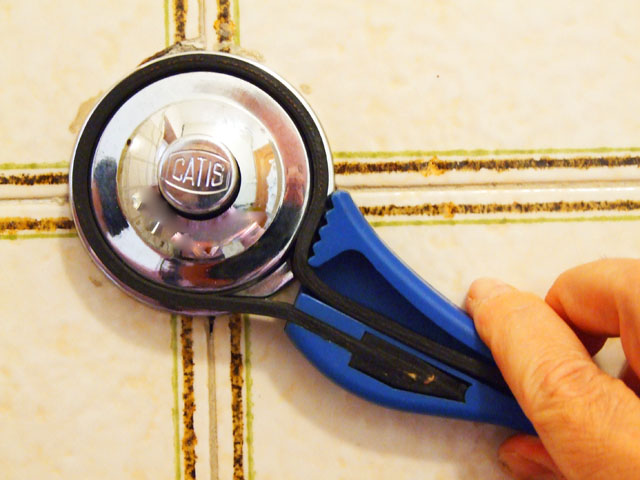
To fix this, you’ll need to unscrew the button’s retaining ring. In most cases, this can be done by firmly gripping the ring with one hand and turning it counterclockwise.

If the Retaining Ring is Stuck
If the retaining ring is too tight to unscrew by hand, I recommend using a Rubber Strap Wrench—a tool originally designed for removing oil filters in cars. It can be found in large hardware stores or online, such as on eBay.
This tool works by gripping the metal surface with a rubber strap, preventing scratches while allowing you to apply enough force to loosen the ring. In many cases, it proves to be an invaluable tool.
What’s Inside the Toilet Flush Button Mechanism?
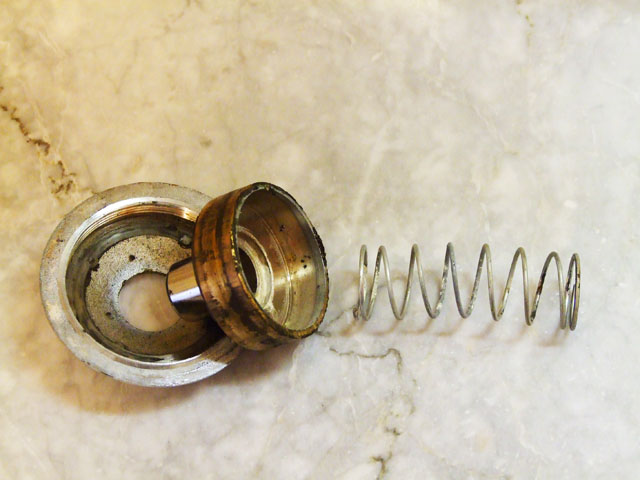
Once the retaining ring is unscrewed, be careful—the return spring inside the button can easily pop out unexpectedly.

The Flush Button Mechanism
The mechanism is quite simple. In addition to the chrome retaining ring we removed and the return spring, it consists of a button connected to a metal cylinder that fits perfectly into its recessed housing in the wall.
This cylinder acts as a piston, and each time you press the button, it compresses air, directing it through a small tube to the upper cistern, where it activates the flushing system.
STEP 1 - Cleaning the Components
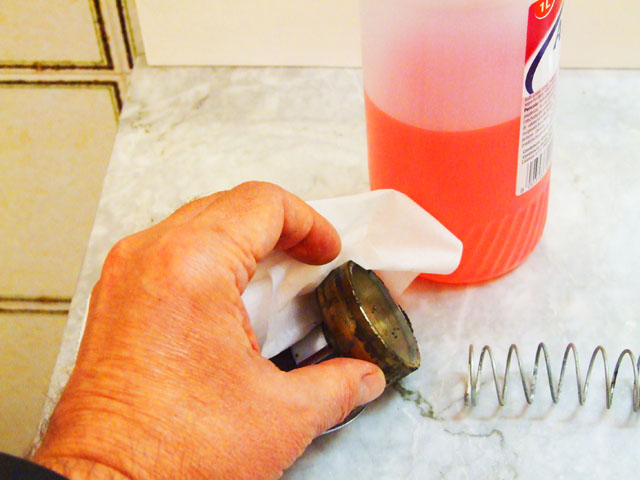
Malfunctions often occur due to dust mixing with the grease inside the mechanism. Over time, this buildup hardens, making it difficult for the button to return to its original position. Additionally, it can reduce the air seal, preventing proper compression.
To fix the issue, start by thoroughly cleaning all parts of the mechanism, removing any dirt or residue. I used alcohol for this, but you can also use non-aggressive degreasing detergents—just avoid descaling products.
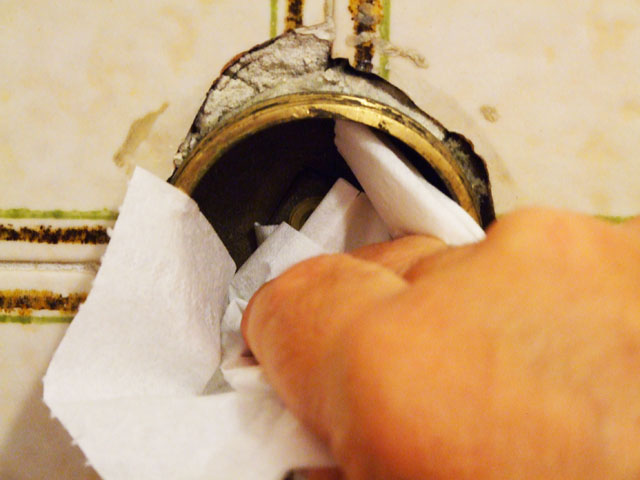
The same cleaning process must also be carried out inside the recessed housing of the mechanism within the wall. Here, too, remove all dirt and residue using the same products used earlier.
STEP 2 - Lubricating the Components
To complete the repair, we need to apply grease to lubricate all the components.
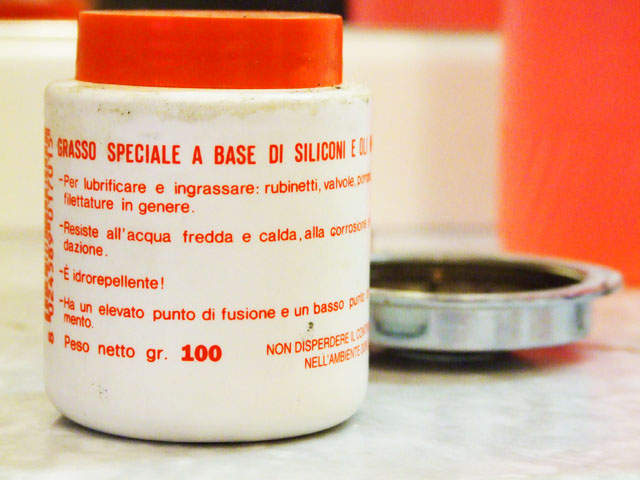
I used silicone-based plumbing grease, which is commonly used for lubricating tap mechanisms. However, universal lithium or Teflon grease can also be used.
Applying the Grease
The grease should be applied both inside the recessed housing in the wall and on the outer surface of the cylindrical piston.
Its purpose is twofold: it lubricates the moving components, ensuring the button returns smoothly, and it improves the seal between the cylinder and piston, increasing the mechanism’s air compression efficiency.
Once all parts are properly greased (avoid using too much—a thin, even layer is sufficient), you can reassemble everything and test its functionality.

Conclusions and Acknowledgements
And there we have it your CATIS high cistern flush button is now clean, lubricated and working like new. As you've seen, it's a quick and straightforward repair that doesn't require any special skills or a call to the plumber: just a bit of patience and the right products.
If the problem comes back after a few months, don't be discouraged: it simply means the mechanism needs a bit of periodic maintenance, and now you know exactly how to deal with it.
If you've found this guide useful and would like to explore more DIY plumbing repairs around the home, feel free to browse the other articles in the Plumbing section of the site, where you'll find plenty more practical guides and step-by-step tutorials.
If your problem is different, specifically that your cistern is continuously leaking water into the toilet bowl, I've published a dedicated guide that might be just what you need: Fixing a Leaky External Cistern Toilet Flush System (by Capitan Farloc)
I care a great deal about the quality and originality of everything I publish, so I'd rather my content wasn't copied or republished elsewhere. That said, if you think this guide could be useful to other people, I'd be really chuffed if you shared the link to this page — it's the best way to spread the word and support the work that goes into every article.
Happy DIY Repairing, Everyone!
Luciano (Capitan Farloc)